DIY Numberblock 6 Halloween Costume: From Hogwarts to Numberland
How I turned a Harry Potter LEGO box, paper towels, glue and a lot of purple paint into my son's Halloween costume.
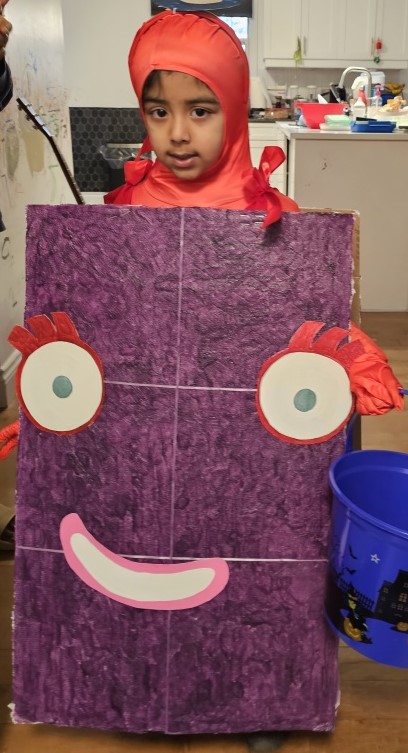
This Halloween, my son went trick-or-treating as Numberblock 6. Not the kind you buy at a costume shop, but a homemade, cardboard, papier-mâché-ish version that started its life as the box from our Harry Potter LEGO Burrow set.
From the Burrow to Numberland. Quite the career change for a cardboard box.
I had an idea of what I wanted to make, but I wasn’t entirely sure whether I could pull it off. In fact, there were several points during the process when I had serious doubts about the whole thing. I also got so carried away with making it that I forgot to take pictures of quite a few steps. Sorry about that! But I did manage to document enough of the process to show how it came together.
What I used
- A large cardboard box (mine was from the Harry Potter LEGO Burrow set)
- Paper towels and glue
- Purple paint and a paintbrush
- Thin white ribbon for the block divisions
- Cardboard or thick paper for the eyes, mouth and number 6
- Paint or colouring supplies for the facial features
- Two thick red ribbons to hold the costume together
- A red hairband for the Numberling 6
- A red onesie from Amazon.ca (affiliate link) to wear underneath
All the cardboard came from boxes of things we had already bought. None was purchased for this costume. The only things we had to buy were the thick red ribbons, the purple paint and the onesie from Amazon. Everything else was already at home.
The Amazon.ca link is an affiliate link. If you buy through it, I may earn a commission at no extra cost to you. As an Amazon Associate I earn from qualifying purchases.
Step 1: Turning a LEGO box into Numberblock 6
I started by cutting the LEGO box into two large rectangular panels, one for the front and one for the back. These would form the body of Numberblock 6.
The idea was to create something light enough for my son to wear while trick-or-treating but sturdy enough to hold its shape.
Of course, the cardboard was covered in Harry Potter LEGO artwork. Lovely artwork, just not particularly convincing as a purple Numberblock.
So I needed to cover it.
Step 2: Glue, paper towels and more paper towels
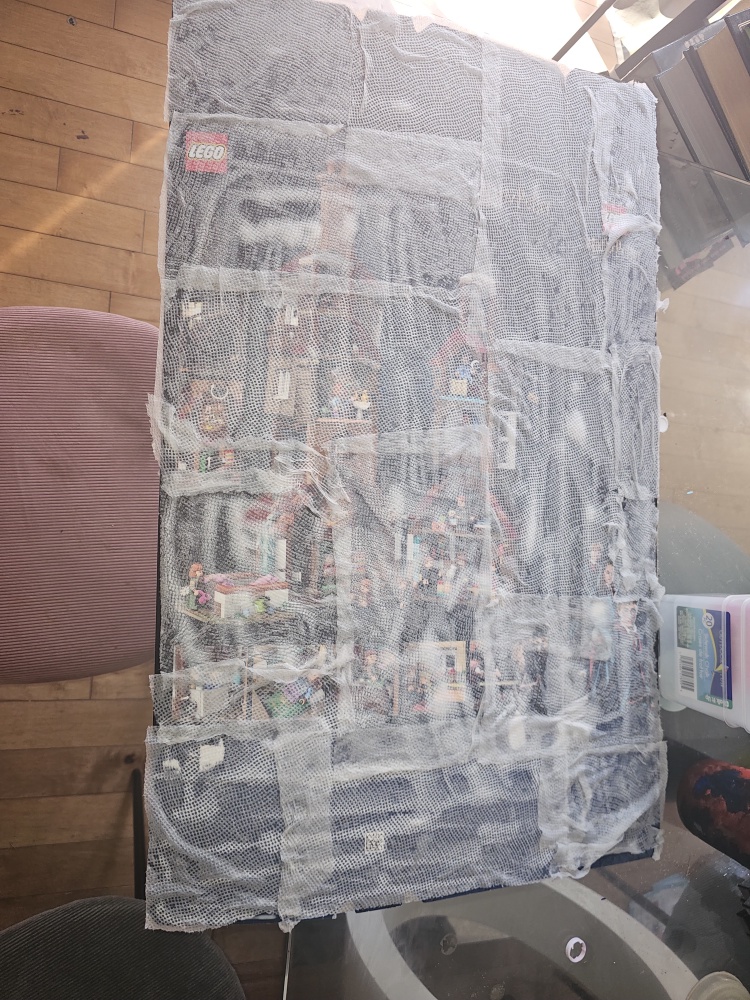
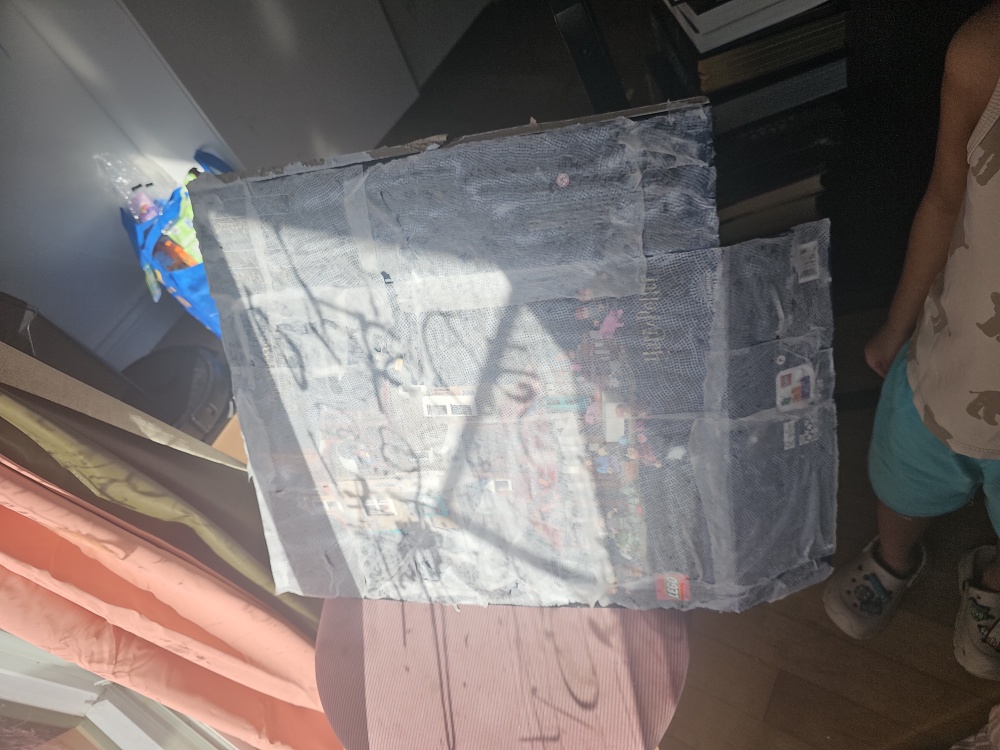
I covered the cardboard with glue and paper towels, layer after layer, until the original artwork could no longer be seen.
I started with three layers and added more wherever the printing was still showing through. The objective was to make the surface opaque enough that I could paint over it without Hogwarts making an unexpected appearance.
I wasn’t trying to achieve a perfectly smooth finish. The paper towels created a slightly uneven texture, which I actually quite liked.
Once everything was sufficiently covered, I left the panels to dry.
This was also one of the stages when I wondered whether I was making a costume or simply ruining a perfectly good LEGO box.
Step 3: Everything becomes purple
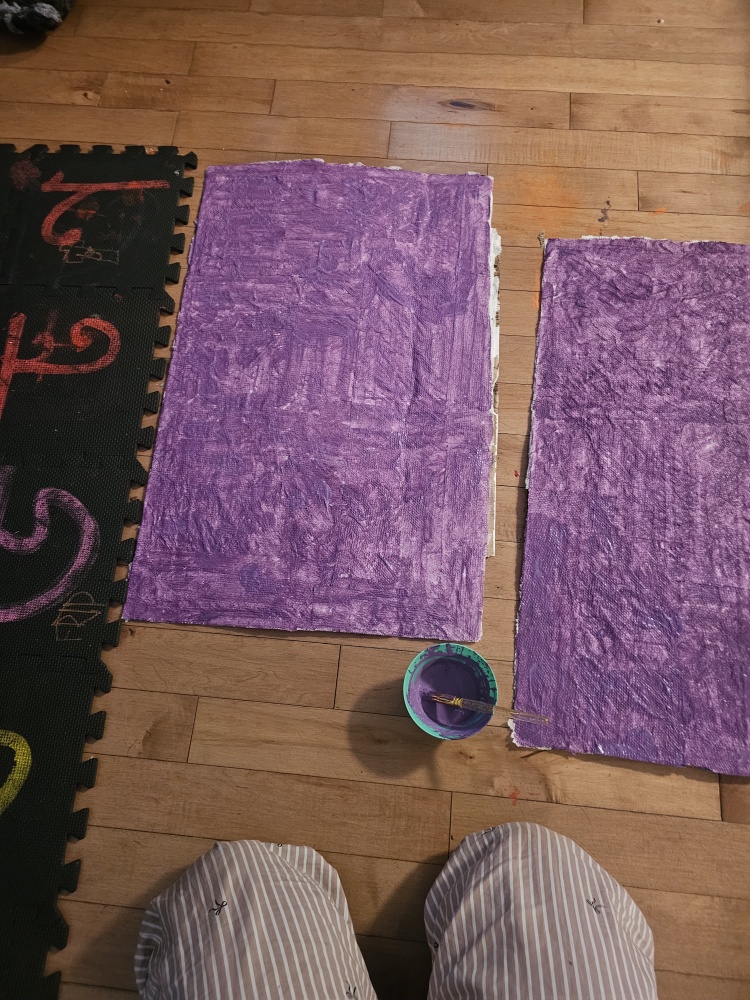
Once the layers were dry, I started painting.
Purple. Then more purple. And then another layer because apparently the previous layers were not purple enough.
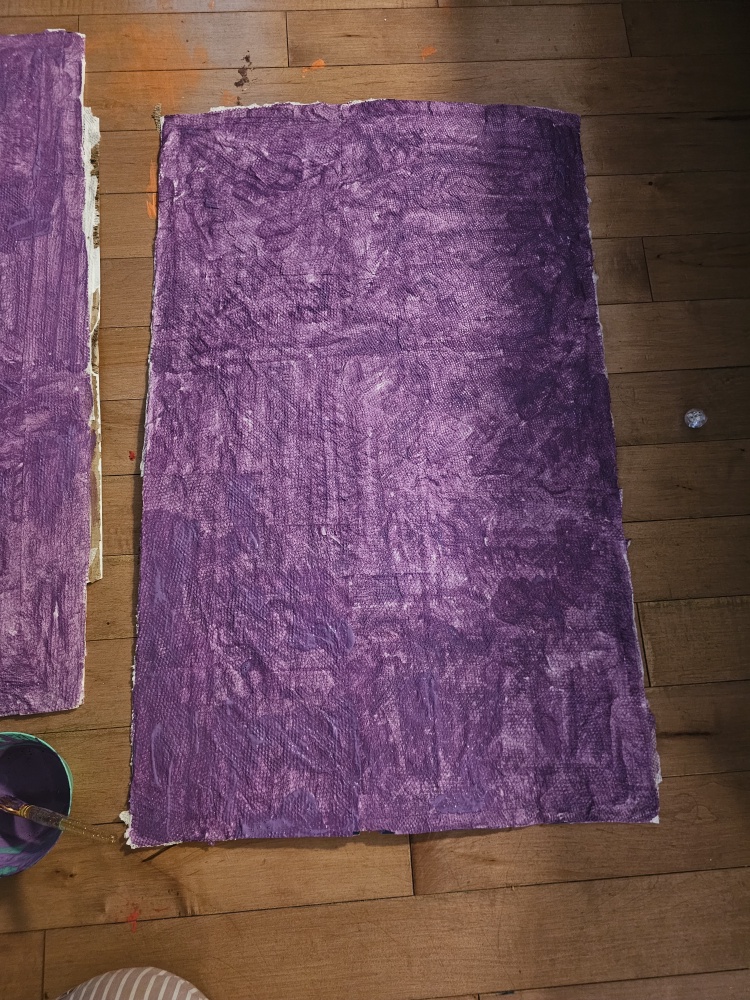
I kept going until the colour and coverage felt right. The texture of the paper towels remained visible under the paint, giving the panels a handmade finish.
The paint also needed time to dry between coats, so this was not quite a one-sitting project.
Step 4: Making six blocks out of one big purple rectangle
Now came the part that would make the purple cardboard actually look like Numberblock 6.
I needed the lines separating the six individual blocks.
Instead of trying to paint perfectly straight lines with a brush, I dipped a thin white ribbon into purple paint and used it to create the divisions across the front panel.
The resulting lines were subtle but visible against the textured purple background. It was a simple way to give the costume its six-block structure without having to build six separate cardboard cubes.
There are probably more precise ways to do this. But I was working with what I had, and I liked how it turned out.
Step 5: Giving Numberblock 6 a face
A purple rectangle with six sections was a good start, but Numberblock 6 still needed a face.
I cut out the eyes and mouth, painted and coloured them, and glued them onto the front panel.
The eyes were large white circles with coloured centres, and the mouth was a big, cheerful smile.
This was the point when the costume finally started looking like an actual Numberblock rather than an ambitious cardboard experiment.
Unfortunately, I don’t have photographs of every cutting and gluing stage. I was far too occupied trying to get everything attached.
Step 6: Making it wearable
With the front and back panels ready, I attached them using two thick red ribbons. These held the costume together over my son’s shoulders, allowing the boards to hang in front of and behind him.
I wanted the costume to be easy to put on and take off, and roomy enough for him to move around while collecting candy.
The front panel was the important one visually, but the back panel helped complete the costume rather than leaving him wearing a single piece of decorated cardboard.
Before trick-or-treating, I checked how the panels sat on him and whether he could move comfortably. With a cardboard costume like this, it is worth making sure the edges aren’t rubbing, the shoulder ribbons aren’t pulling and the child can see, walk and carry a bucket without difficulty.
Step 7: The red onesie and Numberling 6
The final touches made all the difference.
I dressed my son in a red onesie underneath the cardboard costume. Then I made the little Numberling 6 headpiece using a red hairband and a cut-out number 6 attached to the top.
And there he was.
Numberblock 6, complete with his six purple blocks, big smile and Numberling sitting on his head.
All that was left was his trick-or-treat bucket.
Was it perfect? Nope. Did it work? Absolutely.
The costume was a little big for my son, but he loved it and did not complain one bit. If I had been wearing it, I would probably have given up on trick-or-treating after two houses. This kid went on for more than an hour without a peep. He did the full two hours of walking in it, and I am so proud of him for pulling that off.
Whatever I did, I would call that a success.
This wasn’t a professionally made costume. The cardboard wasn’t perfectly smooth, the paint took multiple attempts, and there were several stages when I wasn’t entirely convinced it would become anything wearable.
I also have gaps in my photo documentation because, once I get absorbed in making something, remembering to photograph the process is apparently not one of my priorities.
But I started with a leftover LEGO box and ended up with a costume my son could wear for Halloween. And I rather like that you can see it was made by hand.
It was also satisfying to reuse something we already had instead of buying an entirely new costume.
From a Harry Potter LEGO Burrow box to Numberblock 6, with glue, paper towels, purple paint and an unreasonable amount of optimism.
Voilà! Numberblock 6 was ready for trick-or-treating.
And I was rather pleased that I had managed to make it all the way to the end.